需先安装 ffmpeg,torchcodec 音频解码依赖它;使用预训练流水线前要在 Hugging Face 接受用户协议并配置访问 token;precision-2 为付费云端服务,需单独申请 pyannoteAI API key。

pyannote-audio
pyannoteMIT活跃维护基于 PyTorch 的说话人日志神经网络组件库,提供语音活动检测、说话人变化检测、重叠语音检测和说话人嵌入等预训练模块,方便搭建说话人分离与识别流程。
Neural building blocks for speaker diarization: speech activity detection, speaker change detection, overlapped speech detection, speaker embedding
4.0.7发布于 2026-06-30 14:29 UTC10,775star +13 / 7 天1,135fork同步于 2026-11-10 17:29 UTC
pip install pyannote.audio 硬件要求按 README 说明
README 未明确列出最低显存要求;示例中可将流水线移至 CUDA GPU,速度基准在 NVIDIA H100 80GB HBM3 上测得,CPU 运行方式未说明。
多卡 / 张量并行
基于 PyTorch 的开源说话人日志工具包,提供预训练模型和流水线,直接做说话人分离
基于 PyTorch 的说话人日志神经网络组件库,提供语音活动检测、说话人变化检测、重叠语音检测和说话人嵌入等预训练模块,方便搭建说话人分离与识别流程。
核心能力
- 提供语音活动检测、说话人变化检测、重叠语音检测、说话人嵌入等神经模块
- 内置 Hugging Face 预训练流水线,可直接推理或微调
- 支持 pyannoteAI 云端高精度说话人日志服务
- Python 原生 API,基于 PyTorch 与 pytorch-lightning 多 GPU 训练
容易踩的坑
内容由模型根据 README 生成,可能不完整或不准确,以官方文档为准。看原文 README
- 4.0.7最新正式版2026-06-30 · 2026-06-30 14:29 UTC
这个版本没有写更新说明。
- 4.0.62026-06-29 · 2026-06-29 13:25 UTC
这个版本没有写更新说明。
- 4.0.52026-06-22 · 2026-06-22 09:29 UTC
这个版本没有写更新说明。
- 4.0.42026-02-07 · 2026-02-07 09:57 UTC
这个版本没有写更新说明。
- 4.0.3Version 4.0.32025-12-07 · 2025-12-07 06:44 UTC
查看更新说明
- feat(cli): add
--revisionoption to most CLI commands - feat(util): add
Calibration.safe_transformmethod (supports NaNs as well as any shape) - fix(model): fix
Model.from_pretrainedto supportlightning2.6+ - setup: update
pyannote-databasedependency to6.1+
- feat(cli): add
用户点评
登录用户的真实使用记录,可按版本和硬件筛选共 0 条
还没有人点评。第一个说出真实体验的人最有价值。
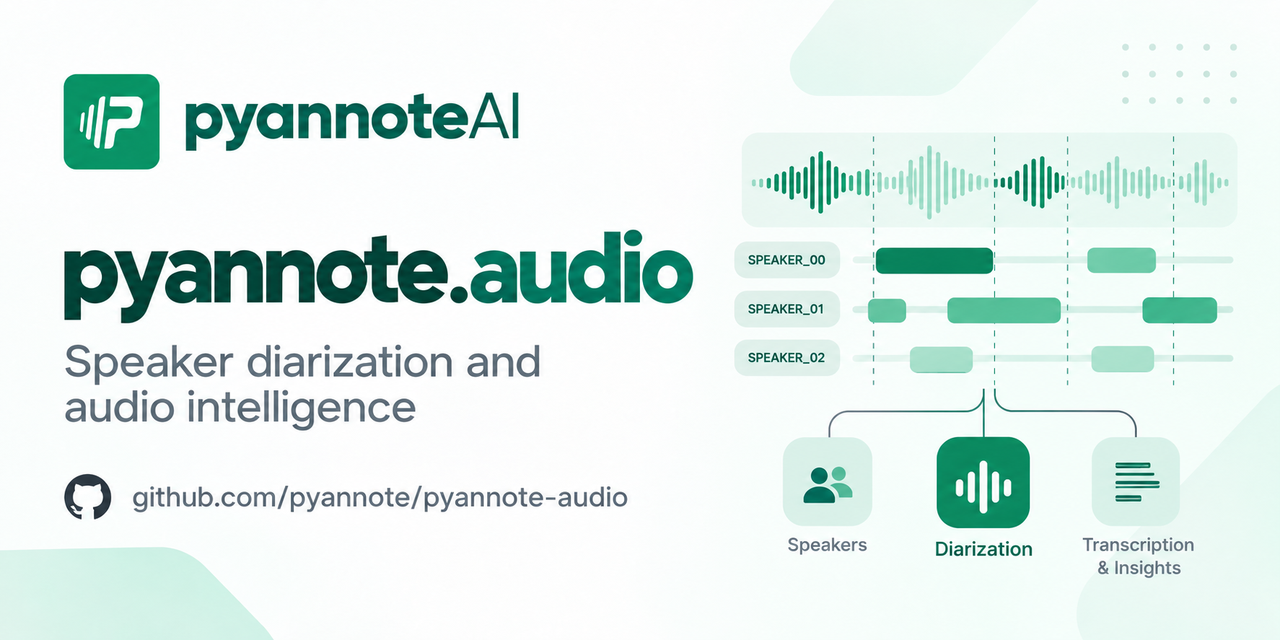
pyannote.audio is an open-source toolkit written in Python for speaker diarization. Based on PyTorch machine learning framework, it comes with state-of-the-art pretrained models and pipelines, that can be further finetuned to your own data for even better performance.
Highlights
- :exploding_head: state-of-the-art performance (see Benchmark)
- :hugs: pretrained pipelines (and models) on :hugs: model hub
- :rocket: built-in support for pyannoteAI premium speaker diarization
- :snake: Python-first API
- :zap: multi-GPU training with pytorch-lightning
community-1 open-source speaker diarization
- Make sure
ffmpegis installed on your machine (needed bytorchcodecaudio decoding library) - Install with
uvadd pyannote.audio(recommended) orpip install pyannote.audio - Accept
pyannote/speaker-diarization-community-1user conditions - Create Huggingface access token at
hf.co/settings/tokens
import torch
from pyannote.audio import Pipeline
from pyannote.audio.pipelines.utils.hook import ProgressHook

# Community-1 open-source speaker diarization pipeline
pipeline = Pipeline.from_pretrained(
    "pyannote/speaker-diarization-community-1", token="HUGGINGFACE_ACCESS_TOKEN"
)

# send pipeline to GPU (when available)
pipeline.to(torch.device("cuda"))

# apply pretrained pipeline (with optional progress hook)
with ProgressHook() as hook:
    output = pipeline("audio.wav", hook=hook)  # runs locally

# print the result
for turn, speaker in output.speaker_diarization:
    print(f"start={turn.start:.1f}s stop={turn.end:.1f}s speaker_{speaker}")
# start=0.2s stop=1.5s speaker_0
# start=1.8s stop=3.9s speaker_1
# start=4.2s stop=5.7s speaker_0
# ...
precision-2 premium speaker diarization
- Create pyannoteAI API key at
dashboard.pyannote.ai - Enjoy free credits!
from pyannote.audio import Pipeline

# Precision-2 premium speaker diarization service
pipeline = Pipeline.from_pretrained(
    "pyannote/speaker-diarization-precision-2", token="PYANNOTEAI_API_KEY"
)

output = pipeline("audio.wav")  # runs on pyannoteAI servers

# print the result
for turn, speaker in output.speaker_diarization:
    print(f"start={turn.start:.1f}s stop={turn.end:.1f}s {speaker}")
# start=0.2s stop=1.6s SPEAKER_00
# start=1.8s stop=4.0s SPEAKER_01
# start=4.2s stop=5.6s SPEAKER_00
# ...
Visit docs.pyannote.ai to learn about other pyannoteAI features (voiceprinting, confidence scores, ...)
Benchmark
| Benchmark (last updated in 2025-09) | legacy (3.1) | community-1 | precision-2 |
|---|---|---|---|
| AISHELL-4 | 12.2 | 11.7 | 11.4 |
| AliMeeting (channel 1) | 24.5 | 20.3 | 15.2 |
| AMI (IHM) | 18.8 | 17.0 | 12.9 |
| AMI (SDM) | 22.7 | 19.9 | 15.6 |
| AVA-AVD | 49.7 | 44.6 | 37.1 |
| CALLHOME (part 2) | 28.5 | 26.7 | 16.6 |
| DIHARD 3 (full) | 21.4 | 20.2 | 14.7 |
| Ego4D (dev.) | 51.2 | 46.8 | 39.0 |
| MSDWild | 25.4 | 22.8 | 17.3 |
| RAMC | 22.2 | 20.8 | 10.5 |
| REPERE (phase2) | 7.9 | 8.9 | 7.4 |
| VoxConverse (v0.3) | 11.2 | 11.2 | 8.5 |
Diarization error rate (in %, the lower, the better)
Compared to the 3.1 legacy pipeline, community-1 brings significant improvement in terms of speaker counting and assignment.
precision-2 premium pipeline further improves accuracy as well as processing speed (in its self-hosted version).
| Benchmark (last updated in 2025-09) | community-1 | precision-2 | Speed up |
|---|---|---|---|
| AMI (IHM), ~1h files | 31s per hour of audio | 14s per hour of audio | 2.2x faster |
| DIHARD 3 (full), ~5min files | 37s per hour of audio | 14s per hour of audio | 2.6x faster |
Self-hosted speed on a NVIDIA H100 80GB HBM3
Telemetry
With the optional telemetry feature in pyannote.audio, you can choose to send anonymous usage metrics to help the pyannote team improve the library.
What we track
For each call to Pipeline.from_pretrained({origin}) (or Model.from_pretrained({origin})), we track information about {origin} in the following privacy-preserving way:
- If
{origin}is an officialpyannoteorpyannoteAIpipeline (or model) hosted onHuggingface, we track it as{origin}. - If
{origin}is a pipeline (or model) hosted onHuggingfacefrom any other organization, we track it ashuggingface. - If
{origin}is a path to a local file or directory, we track it aslocal.
We also track the pipeline Python class (e.g. pyannote.audio.pipelines.SpeakerDiarization).
For each file processed with a pipeline, we track
- the file duration in seconds
- the value of
num_speakers,min_speakers, andmax_speakersfor speaker diarization pipelines
We do not track any information that could identify who the user is.
Configuring telemetry
Telemetry can be configured in three ways:
- Using an environment variable
- Within the current Python session only
- Globally across sessions
All of these options will modify the value of the environment variable for consistency.
If the environment variable is not set, pyannote.audio will read the default value in the telemetry config.
The default config can also be changed from Python.
Using environment variable
You can control telemetry by setting the PYANNOTE_METRICS_ENABLED environment variable:
# enable metrics
export PYANNOTE_METRICS_ENABLED=1

# disable metrics
export PYANNOTE_METRICS_ENABLED=0
For current session
To control telemetry for your current Python kernel session:
from pyannote.audio.telemetry import set_telemetry_metrics

# enable metrics for current session
set_telemetry_metrics(True)

# disable metrics for current session
set_telemetry_metrics(False)
Global configuration
To set telemetry preferences that persist across sessions:
from pyannote.audio.telemetry import set_telemetry_metrics

# enable metrics globally
set_telemetry_metrics(True, save_choice_as_default=True)

# disable metrics globally
set_telemetry_metrics(False, save_choice_as_default=True)
Documentation
- Changelog
- Videos
- Speaker diarization, a
loveloss story / JSALT 2025 plenary talk / 60 min - Introduction to speaker diarization / JSALT 2023 summer school / 90 min
- Speaker segmentation model / Interspeech 2021 / 3 min
- First release of pyannote.audio / ICASSP 2020 / 8 min
- Speaker diarization, a
- Blog
- Community contributions (not maintained by the core team)
- 2024-04-05 > Offline speaker diarization (speaker-diarization-3.1) by Simon Ottenhaus
- 2024-09-24 > Evaluating
pyannotepretrained speech separation pipelines by Clément Pagés
- Tutorials
The multi-objective tutorial targets the current version. The others were written for older versions of pyannote.audio and should be updated. Interested in working for pyannoteAI as a community manager or developer advocate? This might be a nice place to start!
Citations
If you use pyannote.audio please use the following citations:
@inproceedings{Plaquet23,
  author={Alexis Plaquet and Hervé Bredin},
  title={{Powerset multi-class cross entropy loss for neural speaker diarization}},
  year=2023,
  booktitle={Proc. INTERSPEECH 2023},
}
@inproceedings{Bredin23,
  author={Hervé Bredin},
  title={{pyannote.audio 2.1 speaker diarization pipeline: principle, benchmark, and recipe}},
  year=2023,
  booktitle={Proc. INTERSPEECH 2023},
}
Development
The commands below will setup pre-commit hooks and packages needed for developing the pyannote.audio library.
uv sync --extra dev --extra test --extra cli
uvx pre-commit install
Test
uv run --extra test --extra cli pytest -m "not network and not notebook"
Tests marked network download a public model from Hugging Face:
uv run --extra test --extra cli pytest -m network
Historical notebooks are opt-in (pytest -m notebook) and may require additional
models, datasets, credentials, and updates for the current API.
Run lint and formatting checks with uvx ruff check . and uvx ruff format --check ..
whisper
openai·Python
OpenAI 开源的通用语音识别模型,基于大规模弱监督训练,支持多语言转写、翻译和语种识别,开箱即用。
语音识别+4语音
112358+22114kv202506252026-08-31 17:19 UTC
GPT-SoVITS
RVC-Boss·Python
只需 1 分钟语音数据就能训练出高质量 TTS 模型,支持少样本音色克隆,适合快速定制个性化语音合成。
语音合成+4语音
64714+2746.8k20250606v2pro2026-11-09 13:59 UTC
Real-Time-Voice-Cloning
CorentinJ·Python
用 5 秒语音样本克隆音色,实时合成任意文本的语音,基于 PyTorch/TensorFlow 的说话人编码与声码器流水线。
语音克隆+4语音
60237+79.4k2026-03-09 10:31 UTC
VoxCPM
OpenBMB·Python
无需分词器的多语言语音合成模型,支持创意音色设计和逼真声音克隆,可直接从文本生成自然语音。
语音合成+4语音
42200+10564.8k2.0.32026-11-09 07:36 UTC